


This review was written by one of our customers, Ibrahim MT from Hidile who has been using our chatbot solution for their clients for the past one year. We have taken the liberty to repost it on our blog with his permission.
Over at Hidile, me and my team ship websites and apps on a weekly basis for our clients. One of the standard requirements has been to add a sales funnel to tap into the website traffic on their site. I have been recommending the use of chatbots for this purpose and today I am going to review a Chatbot plugin that I have been using for some time.
Automated chatbots are here to save the day
Looking to convert leads from your website traffic? If you do, then your search is finally over. Meet Collect.chat. It is a chatbot builder tool that lets you build chatbots for your website and integrate them with your website easily.
Generally, any business owner needs to handle customers using live chat assistance with the help of humans. Even though humans add the necessary touch, it is not possible to provide 24/7 service. It becomes tougher for startups that have access to a limited budget. Assigning agents only makes it harder for them to run their business smoothly.
Collect.chat enables these businesses to find an alternative and give them the ability to interact and engage with them. With Collect.chat, you can create an engaging chatbot that will function the way you want. You will be not only able to interact with them but also able to collect more information if you want too. Undoubtedly, it also helps in lead generation.
Getting started
To get started, you need to go to Collect.chat and register a free account there. Once done, you will be welcomed in a well-designed dashboard. It will ask you to watch an intro video, which in my view is an excellent way to teach the customers on how the app functions.
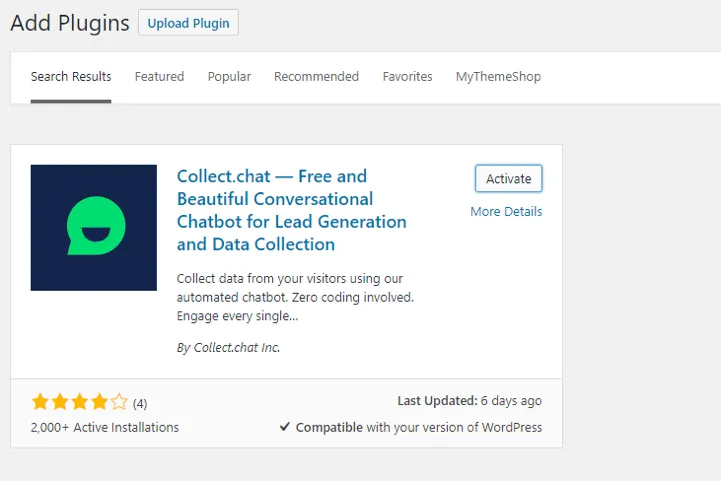
If you are using WordPress, you can quickly install it either by going to their official WordPress page or from the dashboard.
The dashboard is the centre of your activities. Here you can create new bots, improve scripts and embed them on your website. Everything can be done in one place which makes it a very user-friendly dashboard. Let’s have a look below.
The five sections in the dashboard include the following.
- Bots
- Builder
- Settings
- Reports
- Responses
Each of these sections solves a unique problem. Let’s go through them below.
Bots: This is where you can add new bots. You can create as many bots as you can. During the bots creation process, you need to add the domain for which you are creating the chatbot.

You can click on “edit” button, you will be redirected to the Builder page.
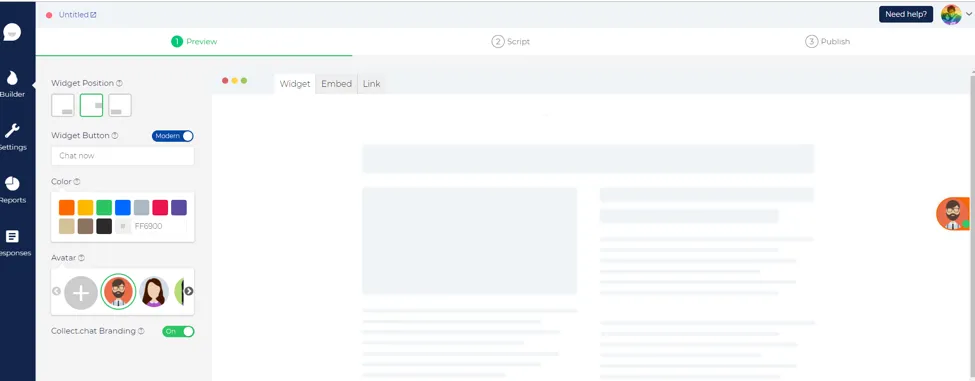
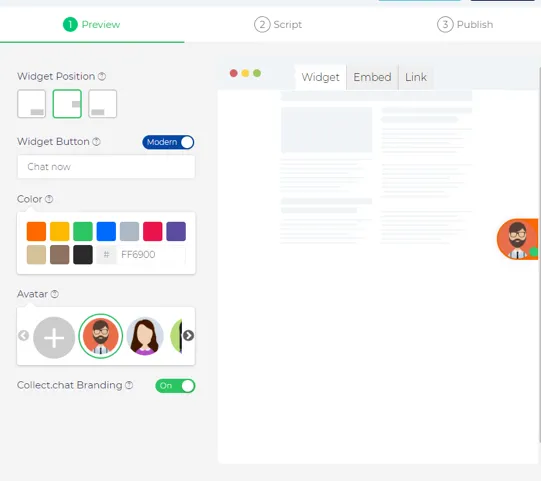
Builder: This is where all the magic happens. There are three steps to build a successful bot. They are preview, script and publish. Each of these steps gives you complete control over how your chatbot looks, behaves and reacts. You can choose an avatar, colour, widget button text, and even the widget position.
Settings: The settings section is where you can customise the settings of your bot. You can change the user experience, user targeting notification, integration, translation, tracking and do some neat modifications.
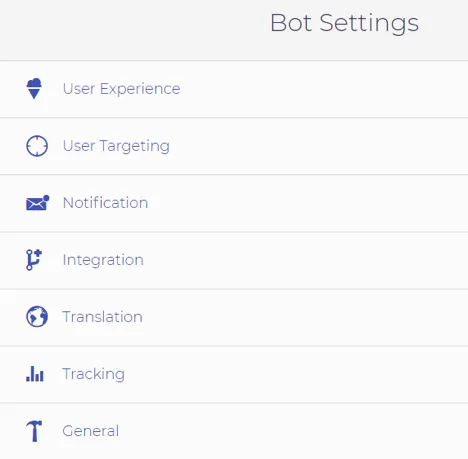
Undoubtedly, you get full control of your bot. You can even integrate the bot into a custom solution.
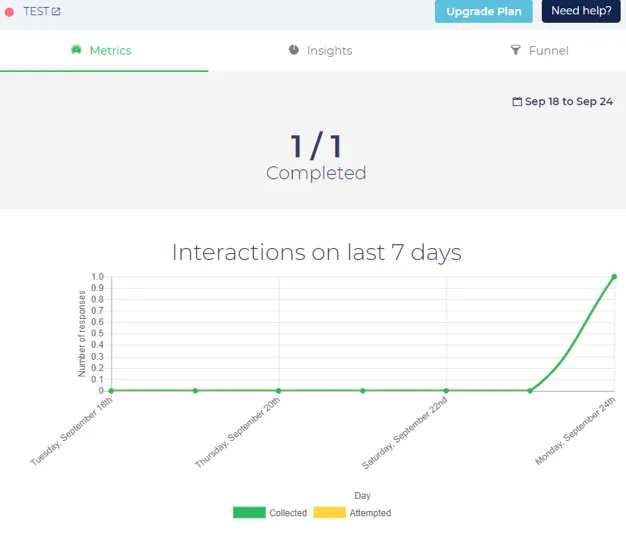
Reports: This is where you can see all the numbers. It breaks down the data into metrics, insights, and funnel where each one of them offers more control on what you want to see.
Responses: Last, but not the least, is the responses. Here all the visitor's responses are stored. The responses are stored with a timestamp and can be exported then and there. It also tells you from which page on the site you received the response.
Making it live
I am impressed with what it has to offer. Once your bot is set up correctly, you can copy the script and then paste it into the Collect.chat dashboard.
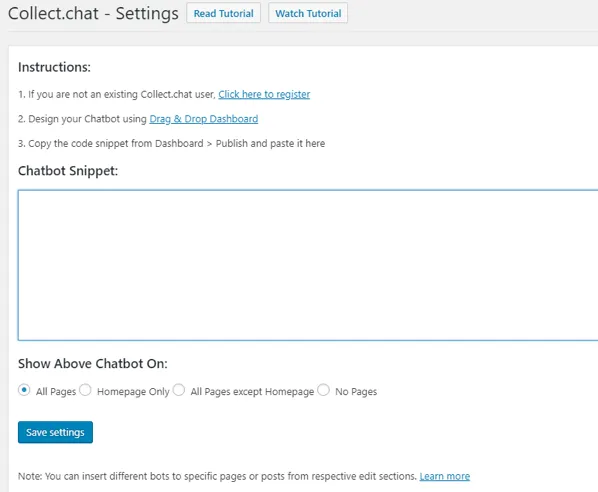
Go to Settings > Collect.chat and then paste the script there. You can also choose to show the chatbot on whichever page you need. There are four options to choose from.
Features in a nutshell
Collect.chat comes with many features. To get a grasp of what it has to offer, let’s skim through the top ones.
- Powerful ChatBot builder
- Analytics
- Proper integration
- Translation supported
- Third party solutions supported
- Easy to use and setup
- Custom bot creation
- Full customisation.
- Powerful visualisation.
Should you pick it?
Collect.chat is an excellent chatbot solution for business who are looking to automate a visitor’s interaction. It has an easy installation, creation and integration process which makes it a great choice over other solutions on the market. You can also try it for free and then choose to buy its paid version which offers more features and functionality.
I just wanted to share my honest review on the plugin. The team at Collect.chat has helped me make countless chatbots for my clients, and I am delighted with their service.
You can also create a bot for your WordPress website. See how.
